How to crochet the Moss stitch
Crochet Stitches 101
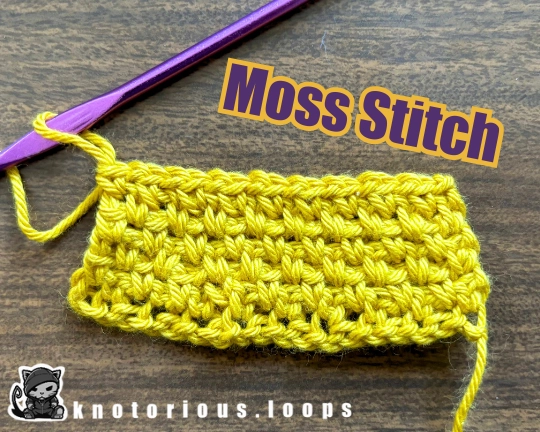
You just got Moss'd!
Wazzuuuup Crochet Crew?
I’m bringing another sweet lil’ tutorial to you with a new less-known crochet stitch among Amigurumi designers that will really be helpful in adding that certain spice to already good Amigurumi and crochet designs. I will show you how to crochet the Moss Stitch. Whether you are a beginner of crochet altogether or a veteran just lookin’ up how to crochet the Moss stitch (also known as Linen stitch) for the 100th time, this tutorial is for you.
While crocheting Amigurumi is generally based on the premise of simplicity (as are a lot of things Japanese, actually attributing to their beauty), hence not using too many different kinds of stitches, sometimes adding a couple of stitches other than single crochet, increase or decrease can add that certain swagger to your design (and often just really make your life designing Amigurumi a lot easier). This is where the Moss stitch comes into play!
Get your crochet to the next level and have them mouths dropping all the way.
What the moss?
The Linen stitch has gained its other name, Moss stitch, in honor of NFL legend Randy Moss, as the stitch basically jumping over every other stitch exactly resembles the Hall of Fame Wide Receiver “Mossing” opposing defenders by jumping over them and snatching the ball away from them. This might not be 100% true, but hey, it will at least help you remember the name of the Moss stitch forever. Pretty neat, right?

All joking aside (for a second): crocheting the Moss stitch basically revolves around single crochet stitches, but with the twist of only making every other stitch and filling up in between with chains. This makes for very flat structures that are much lighter and more breathable than traditional crochet while staying super simple and working up quickly, as you are only doing half of the stitches as you would usually for equally long rows.
As we are only dealing with an arrangement of single crochet stitches and chains, the Moss stitch is a super easy crochet stitch to learn and you will master it immediately, even if you are still a crochet beginner. Quite the opposite, especially if you are a crochet beginner still, you should definitely learn the Moss stitch!
What to use the Moss Stitch for in your crochet designs?
As someone who does a lot of work using thinner yarn types such as sport or fingering for designing and crocheting Amigurumi, while still being big on including a lot of details, the Moss stitch comes as a great help. This is especially true when you want to add some crochet accessories and clothes to your lil’ Amigurumi figures. For example, I was in dire need of a stitch working up as flat as possible for tiny, little bandanas for my Amigurumi to wear. That is how I eventually stumbled upon the moss stitch.
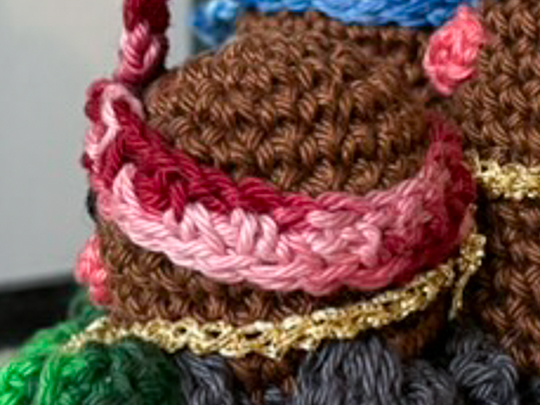
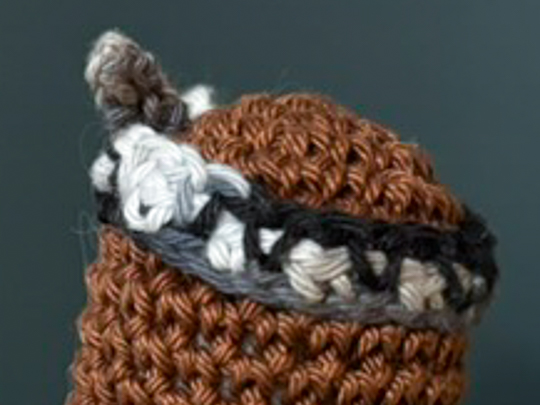
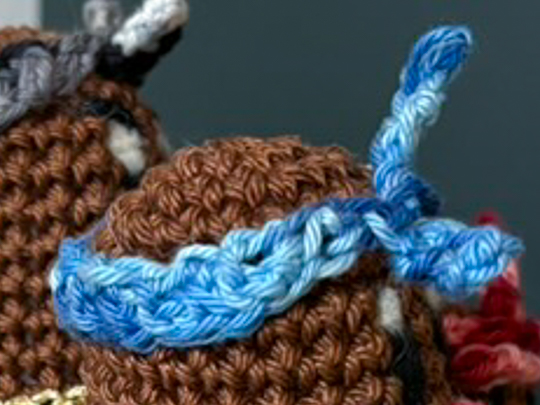
Other than Amigurumi garments, the Moss stitch is also great for crocheting garments of actual people, be it scarfs, blankets, … you name it. The Moss stitch is also super useful when drafting certain parts during your crochet design process, as it works up so fast.
But, enough talk. Let me show you how to crochet the Moss stitch!
Step by step written instructions
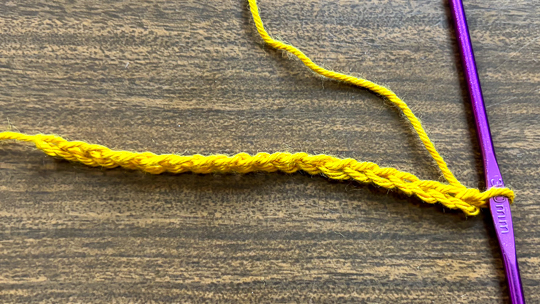
Start off with a foundation chain of the desired length. No surprises here. The only important thing is that the chain has an even number of stitches. As crocheting the Moss stitch is based on the notion of only doing every other stitch, this is crucial for the number of stitches adding up later on, which would not be possible with an odd number of stitches in the foundation chain.

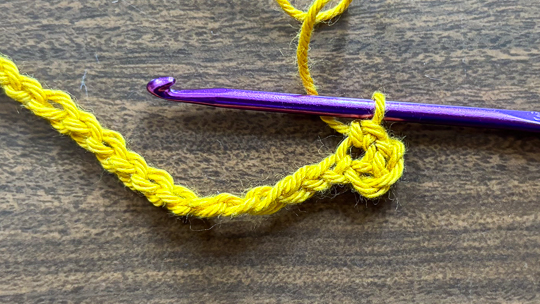
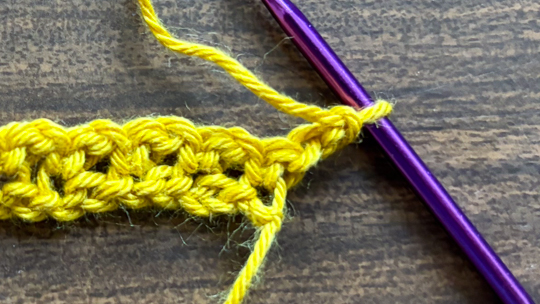
Normally, you would go ahead working into the 2nd chain on the hook, BUT for the Moss stitch, you will single crochet into the 4th chain from the hook instead. This will create a small, additional loop.

Chain 1 while skipping the next stitch.

Now, go on taking turns between doing a single crochet in 1 stitch and chaining 1 while simultaneously skipping the stitch after. Continue doing this until you reach the end of the first row.

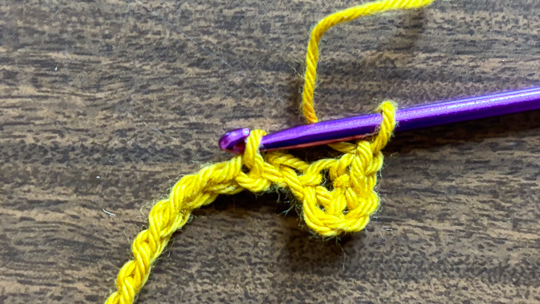
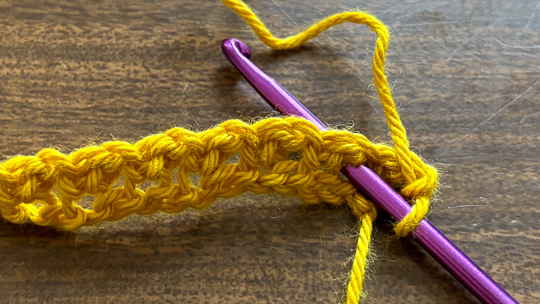
At the end of the row, chain 2 and turn the piece.

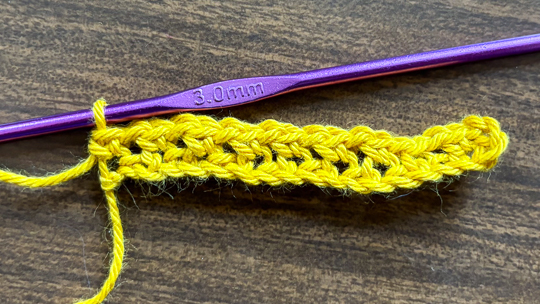
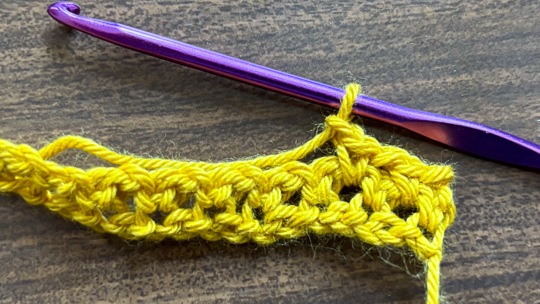
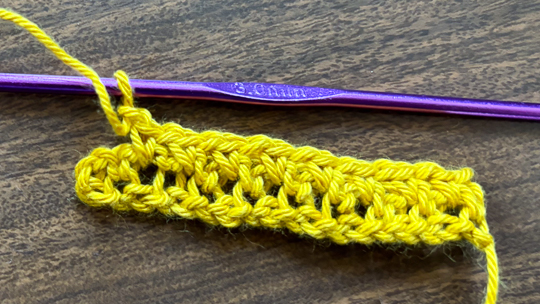
For every row from now on, single crochet into the chain spaces from the previous row. The chain space is the hole that developed between two single crochet stitches where you skipped a stitch and chained 1 instead. This means that you will keep putting single crochet stitches in all the positions that have been chain stitches in the previous row, creating an alternating pattern, which will be visible in your final Moss stitch swatch.

Same as in the first row, go on chaining 1 before putting a single crochet into the next chain space. You do not have to consciously keep on skipping stitches from the 2nd row onward, as there are only chain spaces from the previous row in every other stitch anyhow.

Go on doing Moss stitches by alternating between doing a single crochet into a chain space from the previous row followed by chaining 1. Don’t forget to chain 2 at the end of every row.

What if I want to crochet the Moss Stitch in the round?
Crocheting the Moss stitch in the round basically works the same as when doing it in the row, only that there is no 2 chains at the end. You just have to start in a Magic ring and make sure that your stitch count of every round ends up being an even number.
When you want to increase, simply crochet 2 Moss stitches (each consisting of a single crochet and a subsequent chain) into adjacent stitches without skipping a stitch for the chain of the first Moss stitch.
For a decrease, simply pull up a loop for both of the 2 upcoming stitches and then pull through all three loops on your hook completing the decrease single crochet and continue with a chain as you usually would.
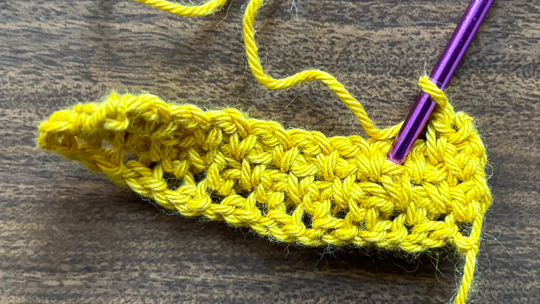
Congrats, you're now able to do the Moss Stitch aka Linen Stitch yourself! 💯
Mad props for checking out this tutorial of mine! 💜💛
Feel free to reach out to me via Instagram or E-Mail if you have any questions you wanna hit me with.
 knotoriousloops.com