How to join Amigurumi parts
Crochet & Amigurumi Design
Mama says, sewing is the devil!
Wazzuuuup Crochet Crew?
This way of joining amigurumi parts together has really elevated my crocheting game and I got the impression (from doing tests of other patterns, etc.) that it is not as widespread as it actually should be. So, I thought to myself, let’s do a quick breakdown to spread some love for this technique and get it more out in the open. So everyone, who is just half as anti-sewing as me, but don’t want to resort to glueing your Amigurumi together just yet… Read on!
Why would I need this?

Sewing sucks ass… at least while crocheting. It’s nothing more than a necessary evil to bring all of your work together and finish up your projects, but totally gets away from the enjoyable part of amigurumi or crocheting in general: that is non-stop, rhythmic movement in a constant flow. So, whatever little sewing I could avoid and use my crochet hook instead one of them weird needles, I am obviously all in. This is also the philosophy that I am trying to incorporate in my designs more and more, as far as my skill level allows it.
What to use this Join technique for in your Amigurumi designs?
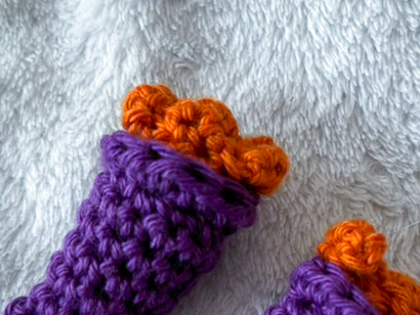
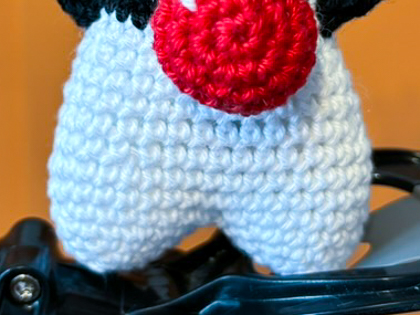
This method works for amigurumi parts whose working round loops generally face the same direction. Examples where this typically applies are several fingers of a paw/hand or 2 feet of a design in a standing-up posture, which just have the right angle for that. Check out some of the occasions where I used this technique below:
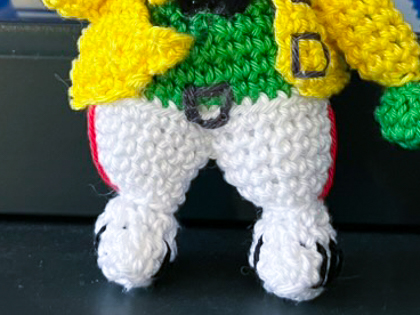
- Joining the 2 legs in my Froggie Mercury pattern.
- Attaching the individual toes to a paw for Kanye the Gangsta Cat.
- Creating the distinct shape of Java Duke’s lower body.
Step by Step written instructions
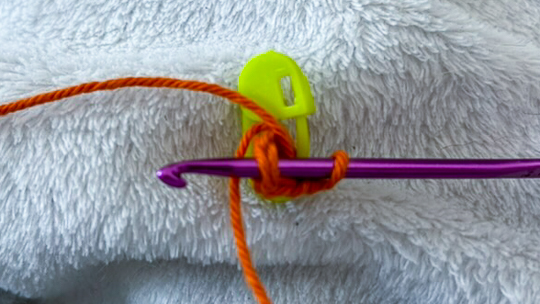
At the position where you want to attach your 2 parts together (which equals the part that will usually be less visible, because it is adjacent to the other part, so normally choose a side that is less appealing or where you want to hide color changes or something), start off by inserting your hook through the loop but from the other side that you normally would. That means instead of inserting the hook from the outside in, insert it from the inside out of the upcoming loop.

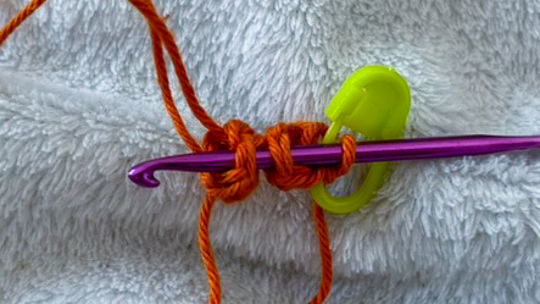
Then, insert the hook into the part that you want to join as you normally would, with a loop and part 1 already on your hook.

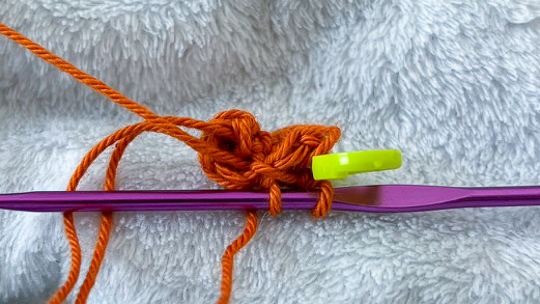
Finally, complete the single crochet as you normally would by yarning over, pulling through, yarning over again and then pulling through for good. Make sure that you have plenty of tension going for this single crochet (probably a bit more than you usually would), so that no gaps are forming between the parts after all.

Then continue on with the round until you reach the join point again and repeat steps 1-3 but this time starting out from part 2 instead of part 1. Keep in mind that your stitch count will be the sum of the stitch count of the final rounds of the 2 parts minus the number of joining stitches you make (in this case 2).
Congrats, you're now 1 step closer in becoming Crochet Master! 💯
Mad props for checking out this tutorial of mine! 💜💛
Feel free to reach out to me via Instagram or E-Mail if you have any questions you wanna hit me with.
 knotoriousloops.com